Joe and myself got together at his place recently for a game of Bolt Action.
We decided to play the, 'Point Defence Scenario" on page 112 of the Rule Book, were the attacker must try and capture three objectives from the defender.
The forces were around 1500 points each.
I have had a Waffen SS army for some time that I have never used so decided to baptise them with a game.
Joe used his US army.
The Waffen SS army was made up of, Veterans and had the, "Fanatics" special rule.
The US army were, "Regulars".
I won the dice roll and decided to be the defender, so I set up half my force in hiding as allowed in the scenario.
The US Forces were allowed a, "Preparatory Bombardment" causing a few pins on the hidden German units.
Lots of pics below.
 |
| The board from the German defenders side. One Objective Marker would be to the far left, one at the centre of the board near the road, and the final one to the right in the ruined building. |
 |
| German Waffen SS. |
 |
| US army |
 |
| Pak 40 and a squad set up in the ruined building hidden. |
 |
| Hidden SS units with one of the objective markers. |
 |
| Pak 40. |
 |
| Waffen SS HQ hidden to the left side of the board with the second marker. the Fallscimjager markers were used to indicate hidden units, and the large German cross were the objective markers in German hands. These would be replaced with US ones if captured by the US forces. |
 |
| Sniper team in hiding not far from the left marker. |
 |
| US HMG team first up, takes cover inside a building on the US side. |
 |
| US Sherman arrives on the centre road. |
 |
| US squads arrive. |
 |
| 1st US medic and his team. |
 |
| 1st US HQ |
 |
| US M10 coming down the road on the right flank of the board. |
 |
| Right side of the board from the German defenders side showing the US Sherman tank and the M10. |
 |
| Panther tank arrives and takes up a position at the centre of the board. |
 |
| US Bazooka AT Team. |
 |
| US Squad rushing down the left flank. |
 |
| Waffen SS squad on the left flank guarding the objective marker with the HQ still hidden behind them. |
 |
| Waffen SS squad move in to the centre objective. |
 |
| M10 getting closer. |
 |
| US squad running down the right flank. |
 |
| US squad take up cover behind the Sherman Tank. |
 |
| More Waffen SS arrive at the ruined binding near the right objective. |
 |
| Ruined building with Right objective and Panzershreck team showing up. |
 |
| Second US HQ arrives. |
 |
| A second lone US Medic arrives on the left flank. |
 |
| Centre of the board from the German side guarding the objective with the US Sherman tearing down the road. |
 |
| Us Forces coming down the centre to the cross road. The yellow dice was the turn marker. |
 |
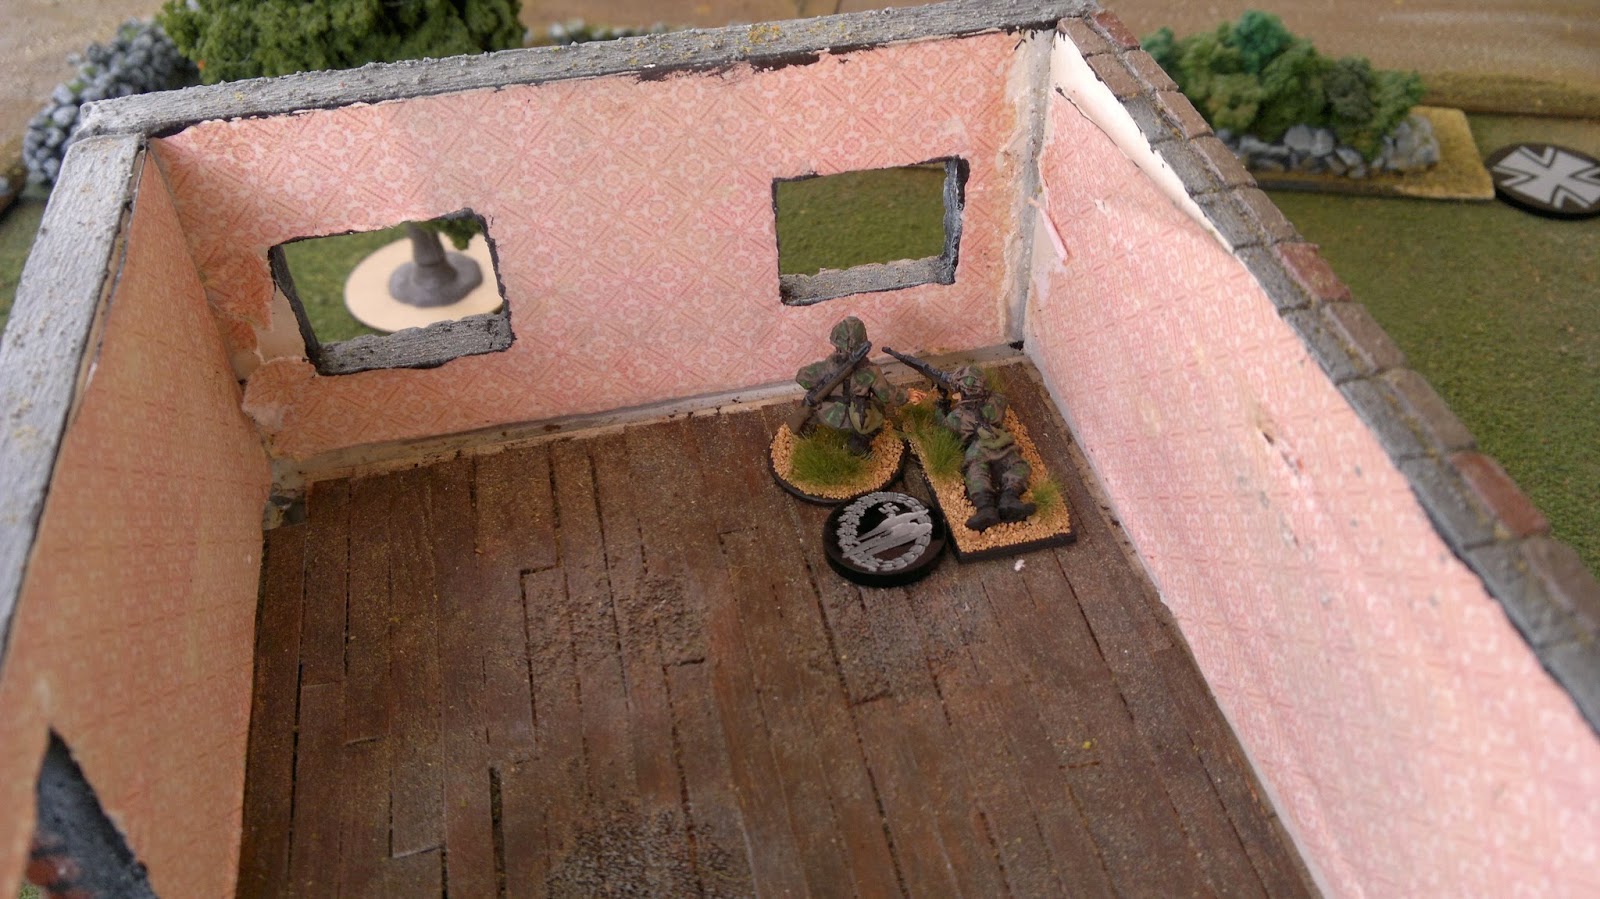
| The Ruined building were the right flank objective was, with the Waffen SS units still hidden and waiting in ambush. |
 |
| Waffen SS Panzerschreck AT team steps out of the ruins to take a shot at the M10. |
 |
| They miss... |
 |
| ...and the M10 opens up with its 50 cal HMG taking out the loader. |
 |
| The centre of the board with the US Forces coming down the road. |
 |
| US Bazooka AT team coming closer down the centre. |
 |
| The Pak 40 springs the ambush... |
 |
| ...and blows a track on the M10 causing it to become immobilised for the remainder of the game. |
 |
| The US Bazooka loader takes a shot at the lone German Panzerschreck and misses. |
 |
| View of the centre of the board from the German side with the Centre Objective to the bottom, and the Right Objective in the Ruined building. |
 |
| German sniper team opens up on the left flank taking out the BAR gunner in one of the US squads. |
 |
| Waffen SS squad on the Left Objective marker takes fire. |
 |
| The Panther Tank comes out to take a shot at the Sherman Tank but only stuns it. |
 |
| The left flank with the US forces closing in. |
 |
| The US HMG team run forward to the building in the centre near the tree... |
 |
| ...only to be shot up by the Waffen SS squad guarding the Centre Objective. |
 |
| The Centre Objective with the US forces closing in. |
 |
| Right flank with the US forces running in. |
 |
| The fire fight for the Centre Objective. |
 |
| German numbers withering down. |
 |
| On the Left Flank the fight is also on. |
 |
| The Germans on the Left Flank having one pin marker roll for moral to activate an order... |
 |
| ... and fail rolling a double six FUBAR... |
 |
| ...and roll a three causing them to panic and open up on there own HQ wiping it out. BUGGER! |
 |
| Left Flank not looking good for the The Germans. |
 |
| M10 fires at the Pak 40 and misses. |
 |
| The bloody battle for the Centre Objective with the fanatical Waffen SS trying to keep it. |
 |
| The lone Panzerschrek operator takes a shot a the Sherman Tank and stops it dead in its tracks by Immobilising it for the remainder of the game. |
 |
| The battle continues down the centre. |
 |
| More Yanks join the fight. |
 |
| The US Bazooka AT team moves forward to silence the Pak40. |
 |
| Direct hit. Scratch one Pak 40. |
 |
| With things not looking good in the centre for the Germans, the Us feel lucky and rush the Waffen SS in close combat... |
 |
| ...only to be wiped out by the fanatic Waffen SS squad. |
 |
| Mean while, over on the Left flank the Germans are wiped out loosing the Objective... |
 |
| ...causing it to fall into the hands of the lone US medic. |
 |
| Things not looking good at the Centre objective either for the Germans |
 |
| Two US Squads arrive at the Left Objective to re enforce the numbers. |
 |
| The Waffen SS NCO fights to the last man... |
|
 |
| ...but he to is killed and the Centre Objective falls to the US. |
 |
| Seeing that the Centre Objective has fallen to the US, the remnants of the the fanatical Waffen SS team that won the hand to hand combat earlier, try to race to the objective and hopefully contest it. |
 |
| However, they would roll for morale after having had a pin marker, and rolled a FUBAR of which the result was for them to retreat to the nearest friendly unit back into the Ruined Building. |
 |
| With both the Left and Centre Objectives clearly in US hands by the end of turn five, there was no way the Germans could win. |
 |
| The only Objective in German hands on the Right. |
 |
| The US Forces dominate the board and win the Battle. |